Blog
In my blogs I will focus on how to use crochet to create stuff that will make life easier or prettier... Read up as you might find some of them useful as well. Some designs will be for free and some designs will have a price... It all depends on the effort it went into making/researching/designing it.
Please check the list of the blog entries as the titles of each entry will more or less hint what it is about...
Sign up for a NEWSLETTER as among regular updates, there will be seasonal creations that you will want to check out so you can have the best ideas made into best stuff by you! Subscription available on Home.
2021-12-16
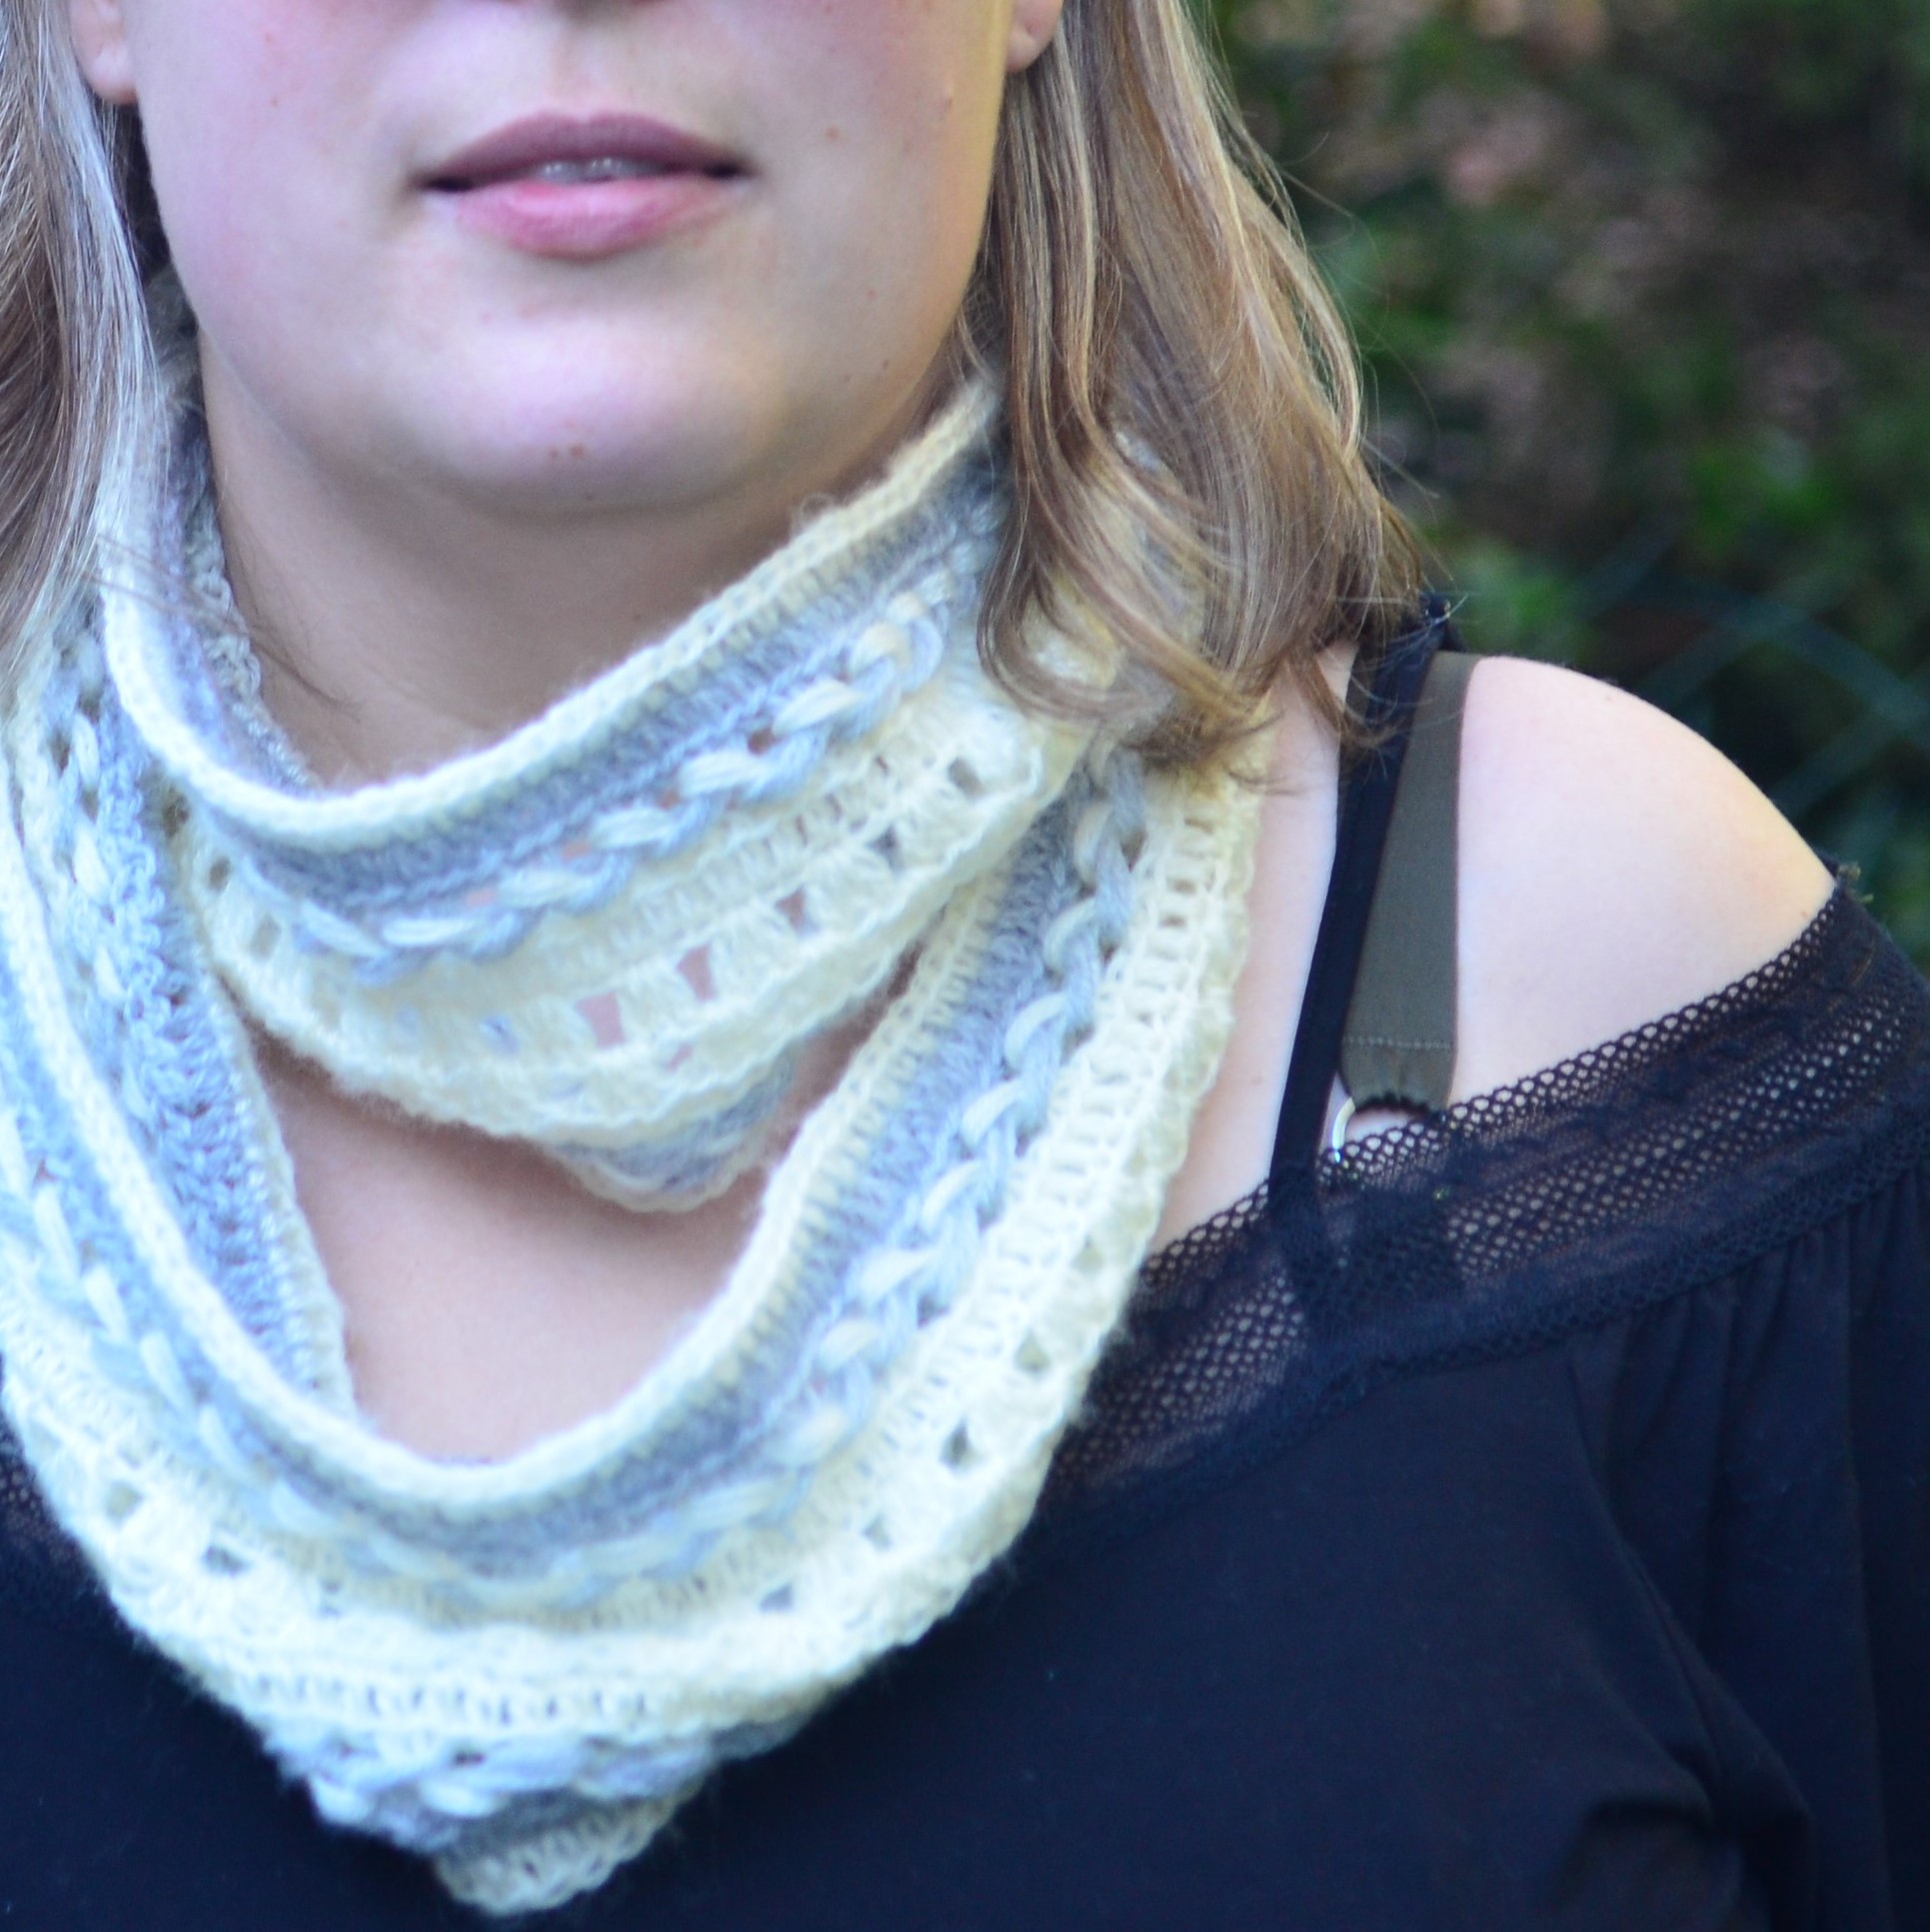
Braided Elegance Infinity Scarf-free pattern release!
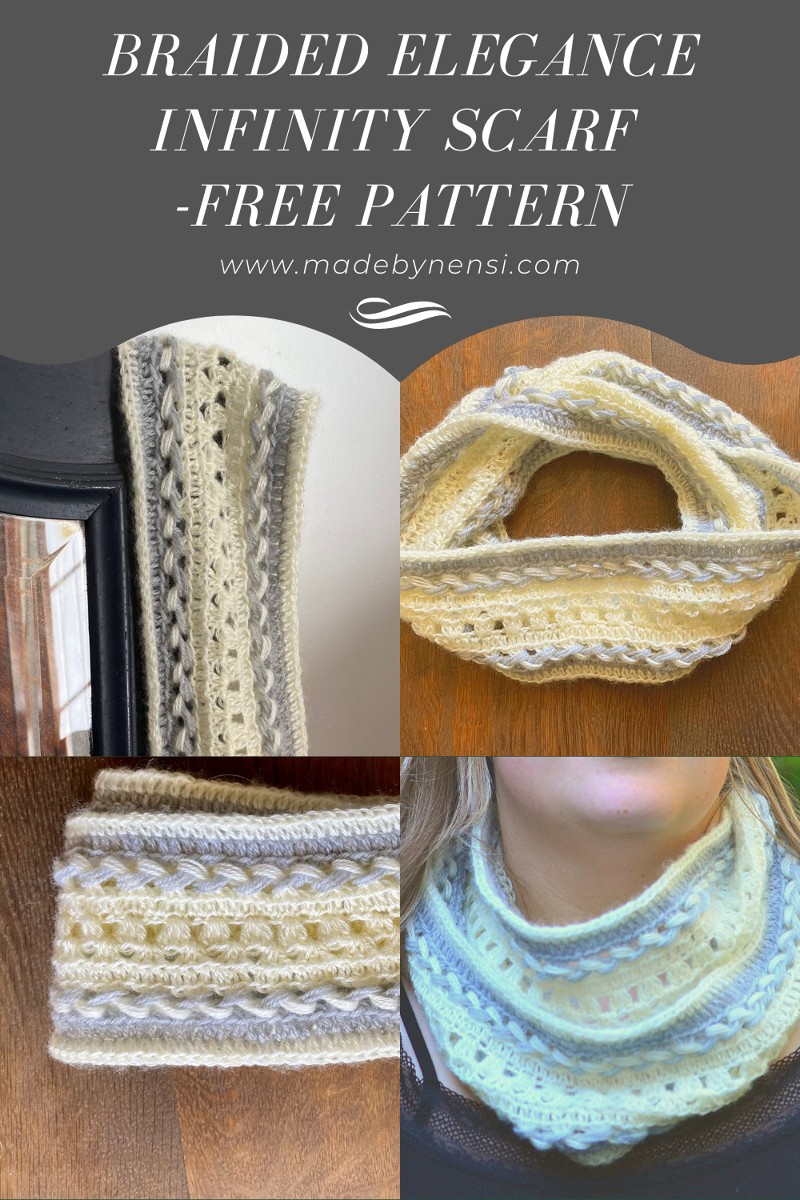
If you ever wanted to try Hairpin stitch or just have a braid as embellishment on your accessory, look no further than Braided Elegance Infinity Shawl. This shawl is an elegant and fashionable statement whatever you pair it with!
Subscribe to my mailing list here and receive updates on freebies, discounts and new releases… Liking my pattern, pinning it, liking my store or any of my media will of course be very much appreciated and will help me in my small business very much!
A PDF printable version with detailed photo instructions is available on Raverly and soon it will include video instruction on hairpin stitch too.
COPYRIGHT: This pattern is for your personal use only. Not to be used in cases of a large productions (by clothing companies or similar).
You MAY NOT in any form reproduce or distribute this pattern in part or in whole through any venue, electronic, mechanical or otherwise without the written authorization of the publisher. Also, any use of my photos is also not permitted. You may sell any product you make with my patterns just please make sure you give the credit for the pattern to me. Easiest way is to tag me as a designer on your online photos…
Please read the following before starting with the pattern.
Materials:
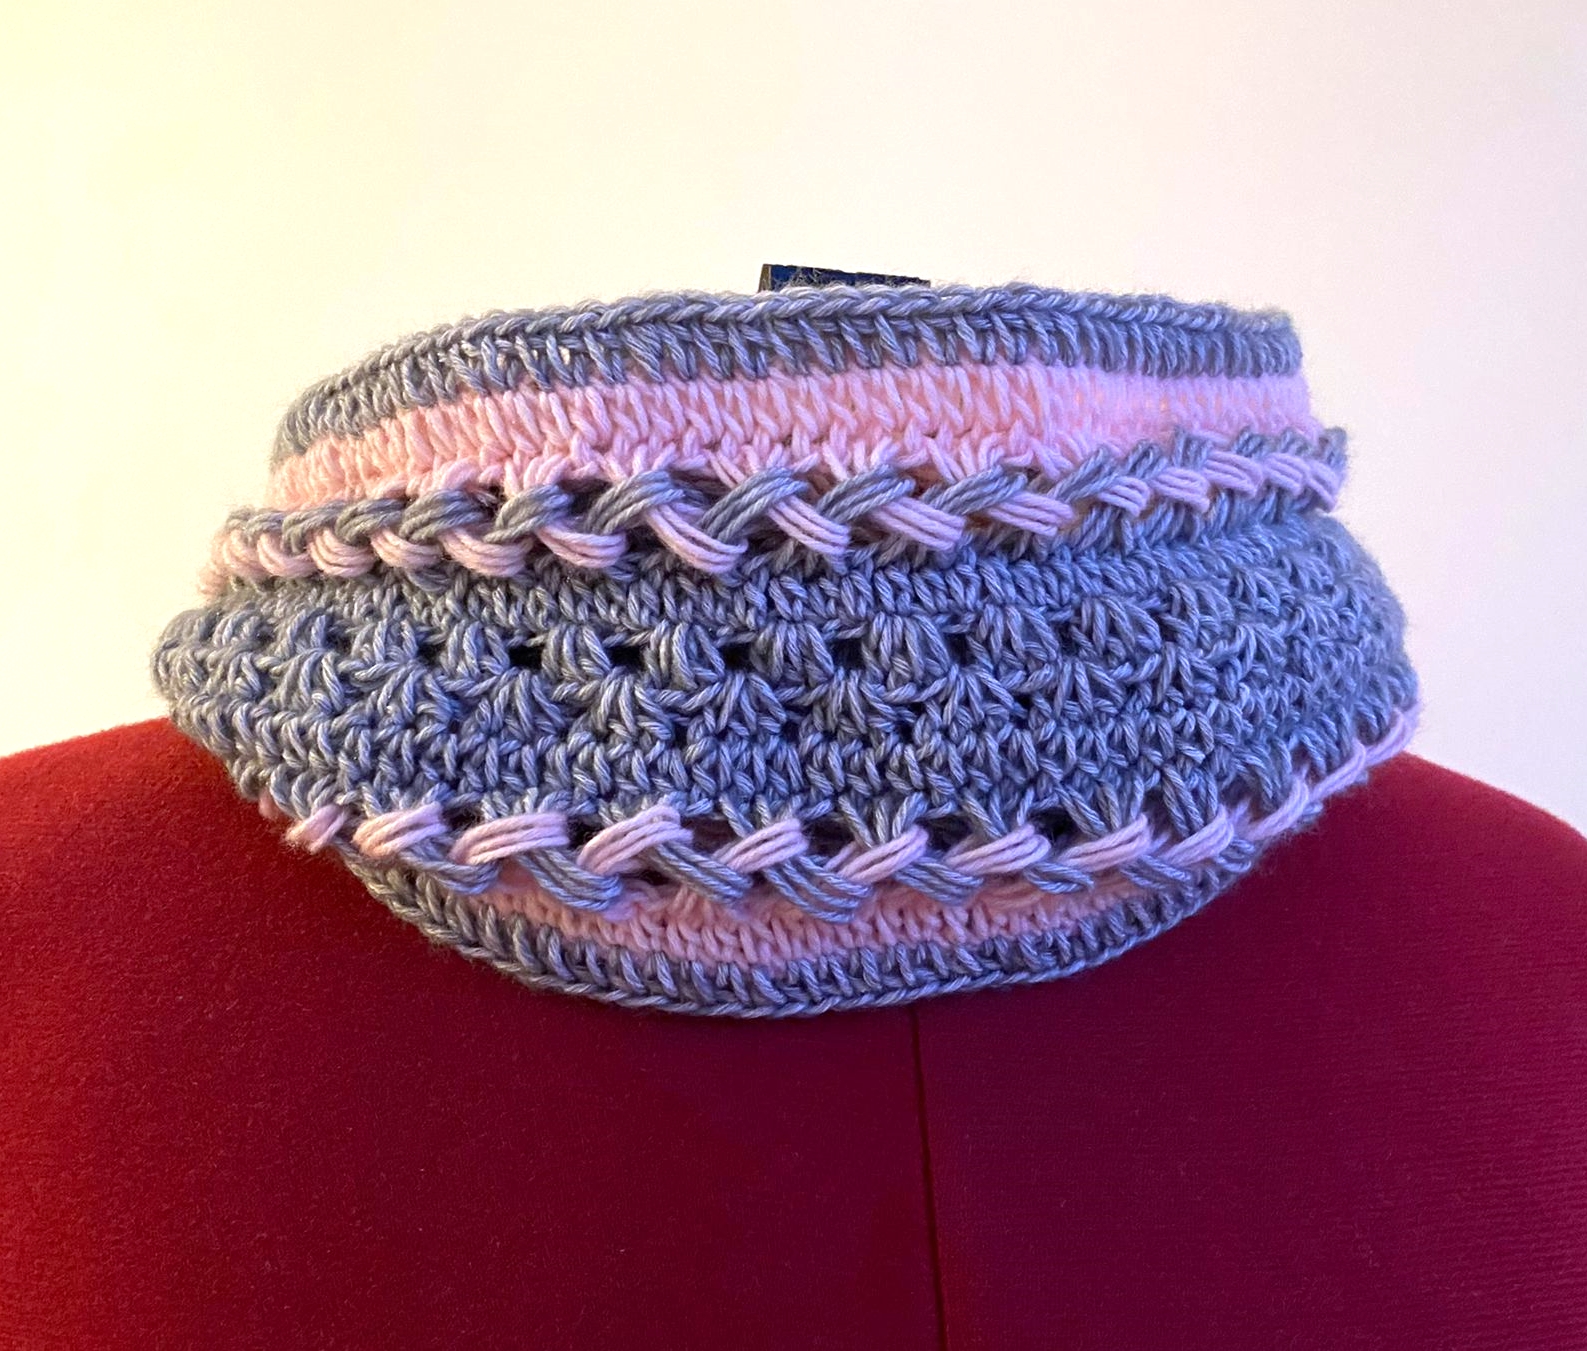
Yarn: For a version I based the design on (pink/grey) I used 90g of Scheepjes which is essentially 2 skeins, but if you want to use different color of course that will differ. The grey/white version is Drop Alpaca mix which is slightly thinner and will be in length same as the pink/grey version but in with it will be thinner by 2-2.5cm. But essentially can be made with any yarn and can be as long or as short as you want as long as the ‘repeat of three stitches’ rule is followed (more later in pattern).
Hook: 3,5mm -in US terms this will depend on the manufacturer of the hook you prefer, but it should be E-4 according to Craft Yarn Council of America.
Important:
This pattern has been written in the US terms as well as the chart has been made with the symbols that reflect US terms.
The size of the shawl is 26inches or 66cm in length if the number of starting chains was followed. Essentially it is a repeat of three stitches so if you decide to make a cowl out of it, or just a regular shawl, or find this length not perfect for you, choose the length of starting chains to be evenly divisible by 3, no left over.
The shawl consists of 4 different parts and it will be noted how much each part weighs so that it can help with deciding which yarn to use/buy. I also made this shawl with a bit thinner yarn (sock yarn weight) and same hook, which is the grey/white version. This made the shawl smaller in width by 2,5-3 cm (~1,5 inches) but un length was the same.
The pattern is made in round, so please be sure you’re using the stitch markers unless you’re experienced crocheter.
Swatch:
4”x4” (10cm x 10cm) =18st x 9rows
Abbreviations:
Ch -chain
Yo- yarn over the hook
Sp- space
Slst - slip stitch
Hdc- half double crochet
Dc - double crochet
Hairpin stitch/pattern- is just regular loops pulled through the top of the stitch from previous row.
Tips to follow:
When the instructions say in the space, that means between clusters, not in a specific stitch from previous row.
First chains at the beginning of every row will be counted as a stitch (dc or hdc depending on the pattern row).
If you don’t like connecting chains in a round (row 1) and then doing hdc, what you can also do is make the chains (row 1), do the hdc in all st (row 2) and then connect the end with sl st, the row 1 will still need to be sawn in together at the ends. It is a personal preference thing, but good for beginners to know you have two options.
Top and bottom rows are considered border and mentioned at the end of the pattern.
Instructions:
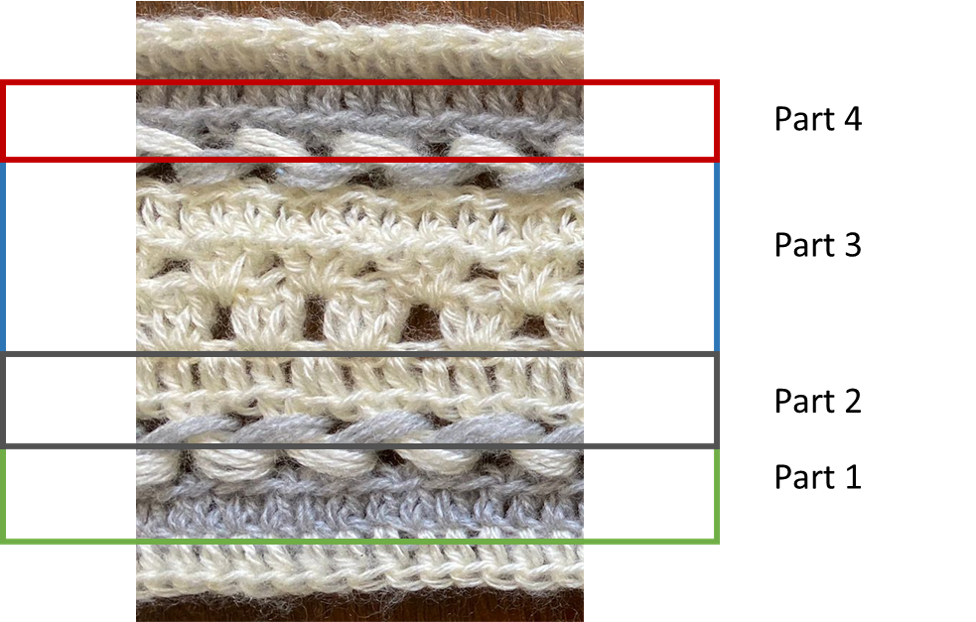
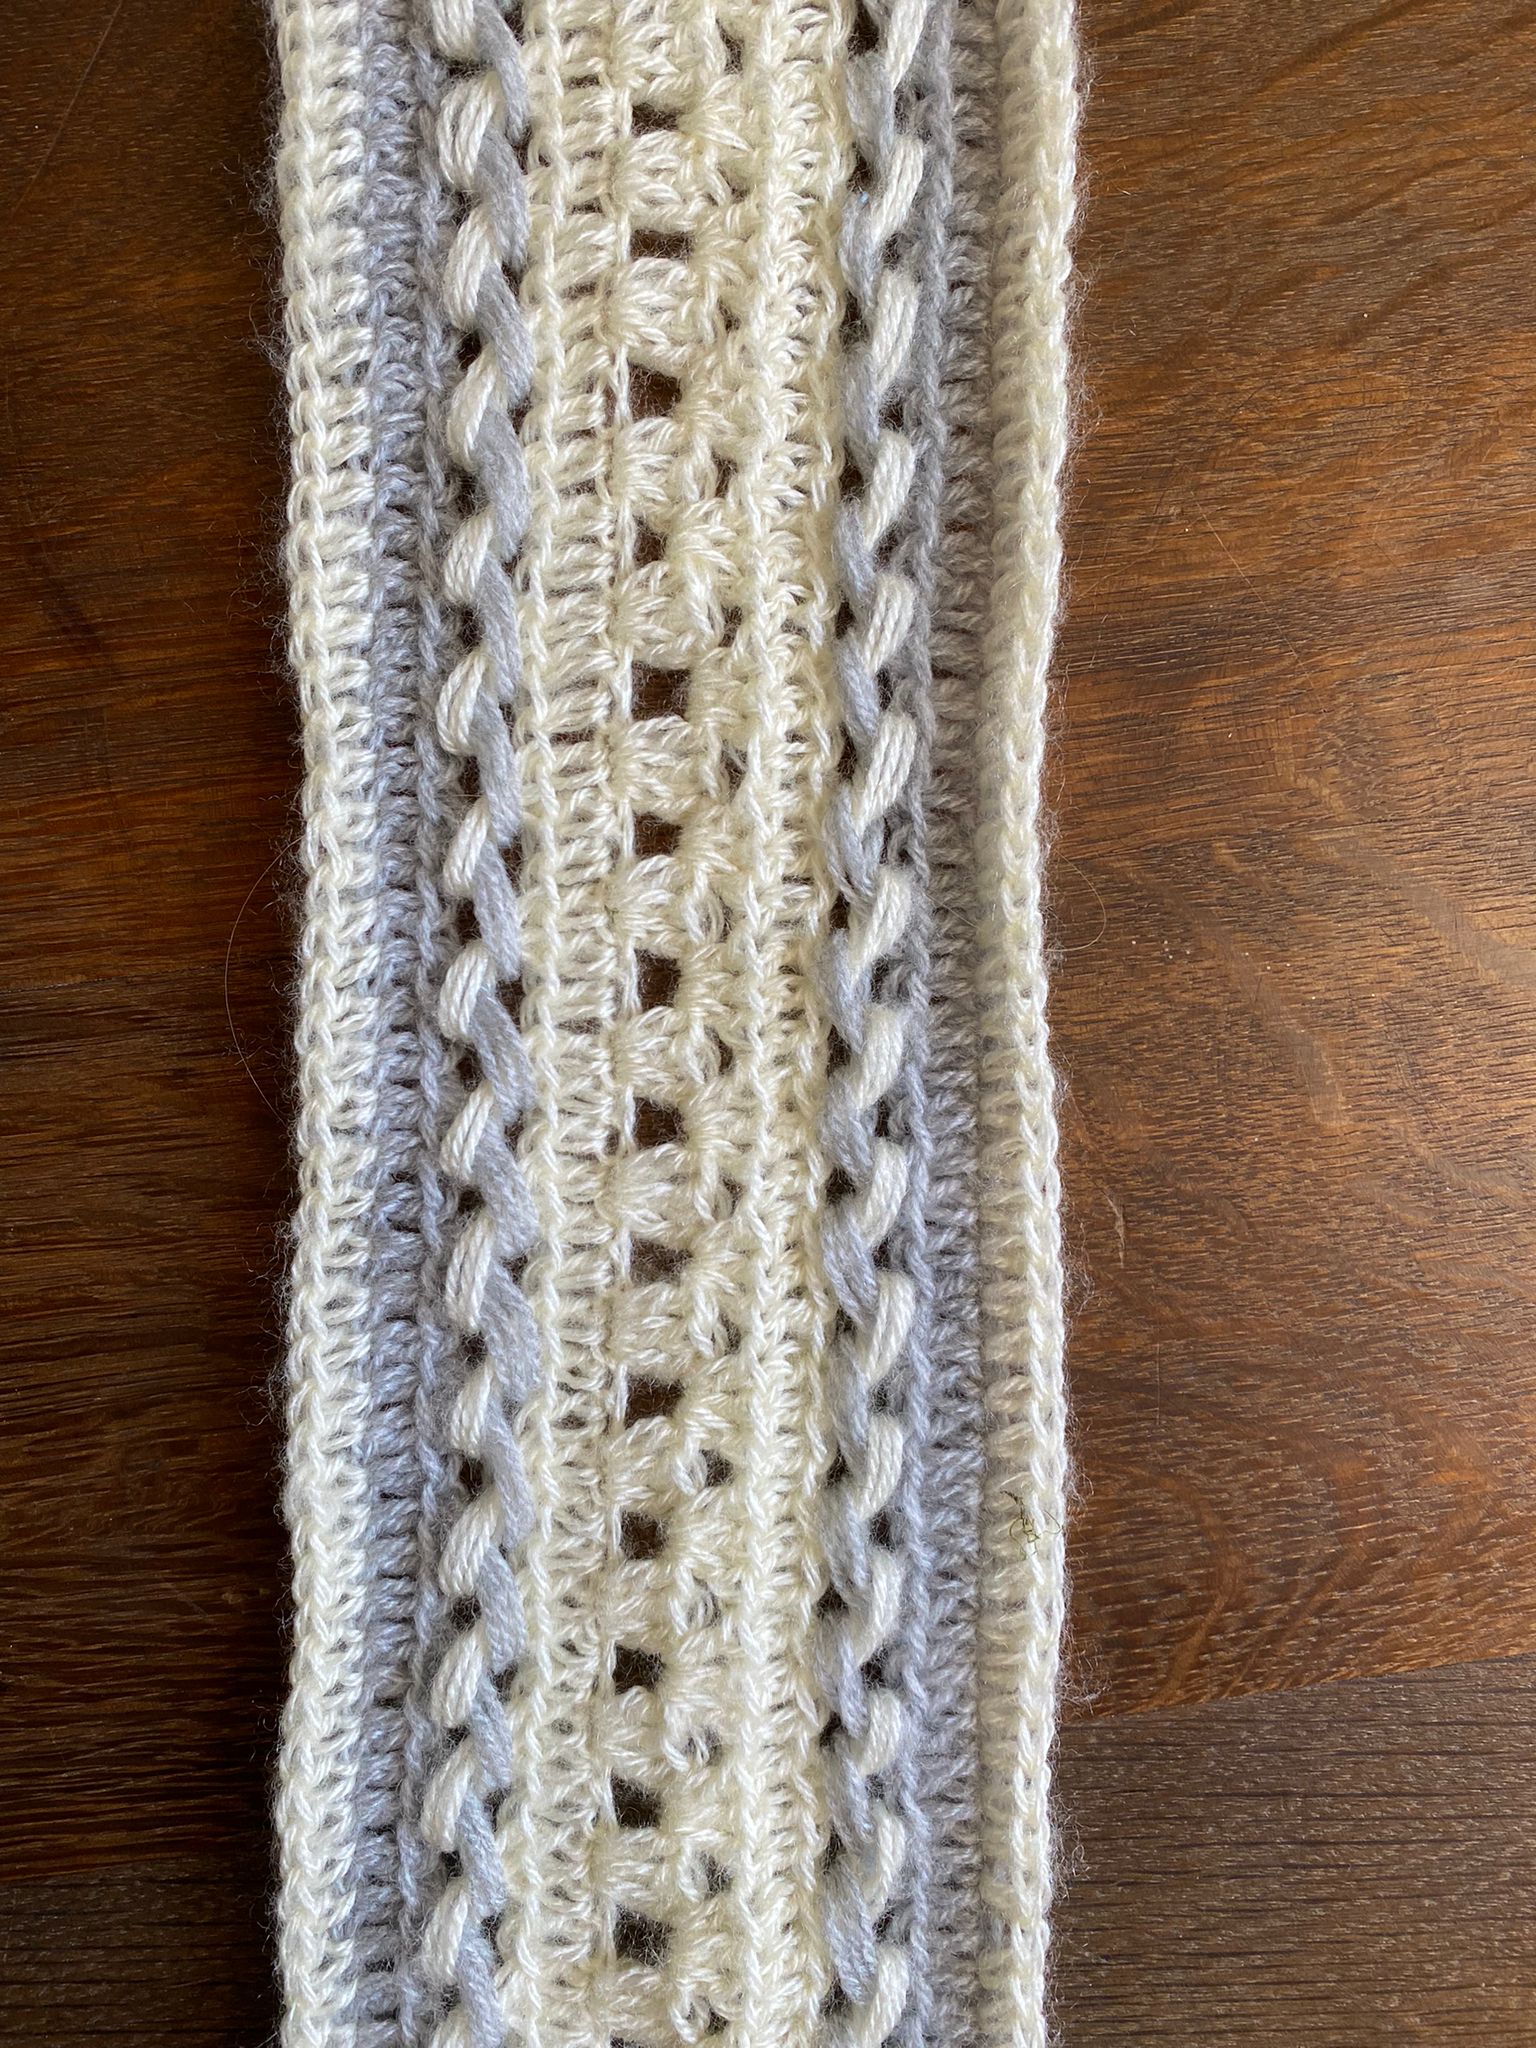
On the photo above the part 1 and 4 are made of grey yarn and part 2 of white. Part 1, 2 and 4 are 15gr of yarn. Both top and bottom side of the shawl has a border made with hdc stitch. Borders plus the middle part are 45 gr. First make parts1, 2 and 4. Take parts 1 and 2 and assemble, then continue with part 3 and in the end assemble parts 3 and 4.
PARTS 1, 2 and 4
Row 1
Ch 219, sl st (make sure your base row of chains doesn’t turn around itself before doing the sl st, as it will affect your row 2)
Row 2
Ch2, hdc in all ch from previous row, sl st (219st)
Row 3
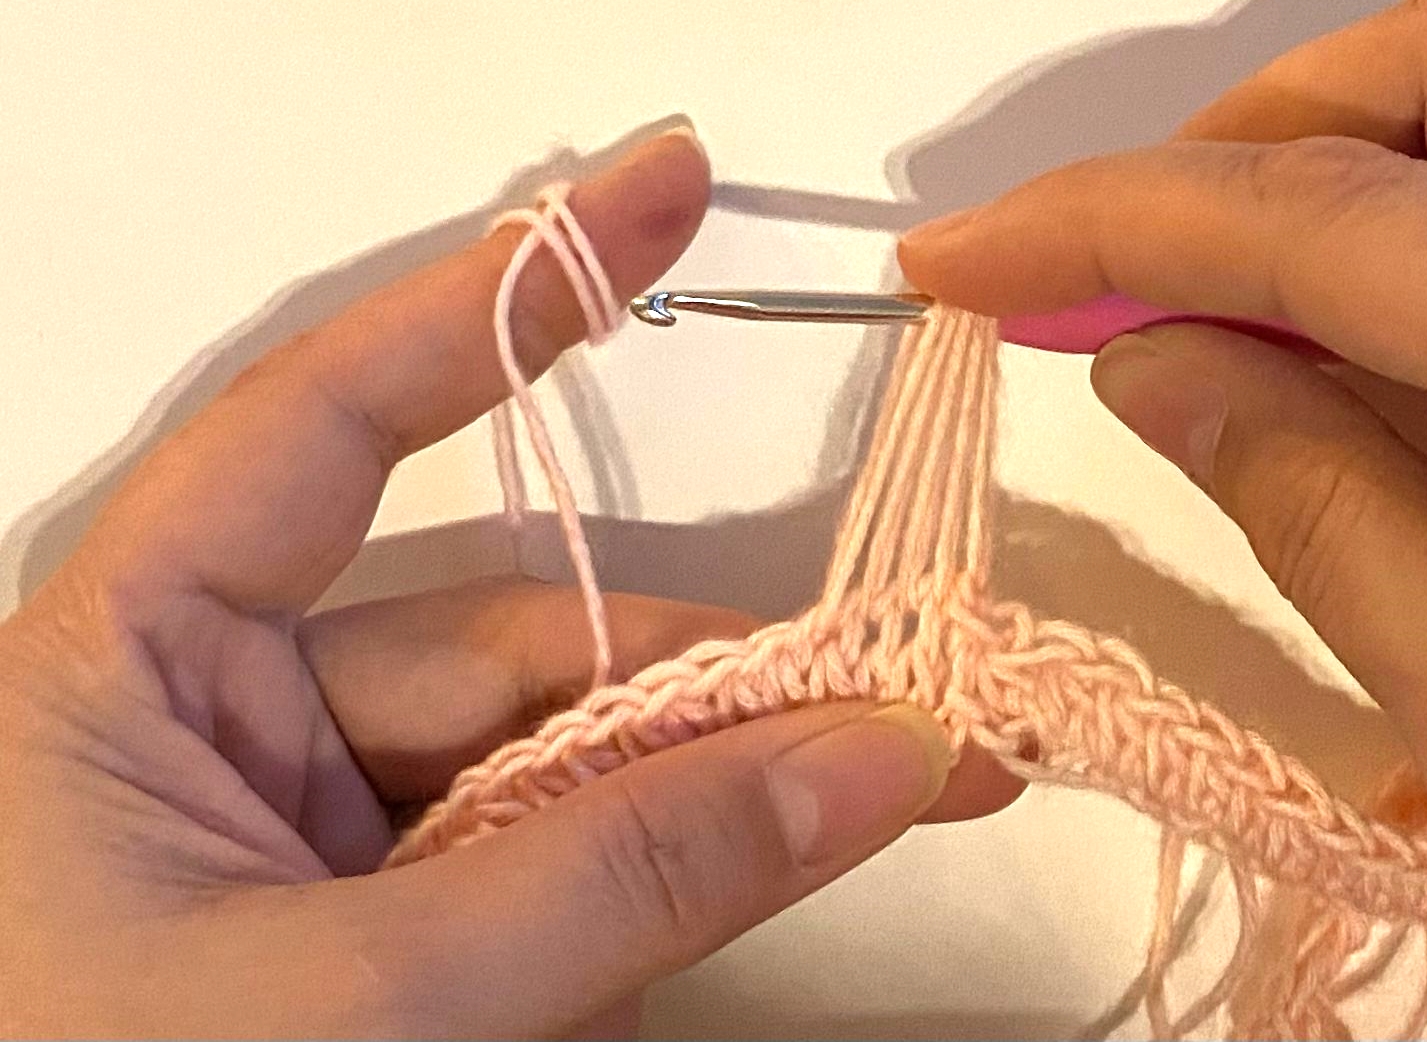
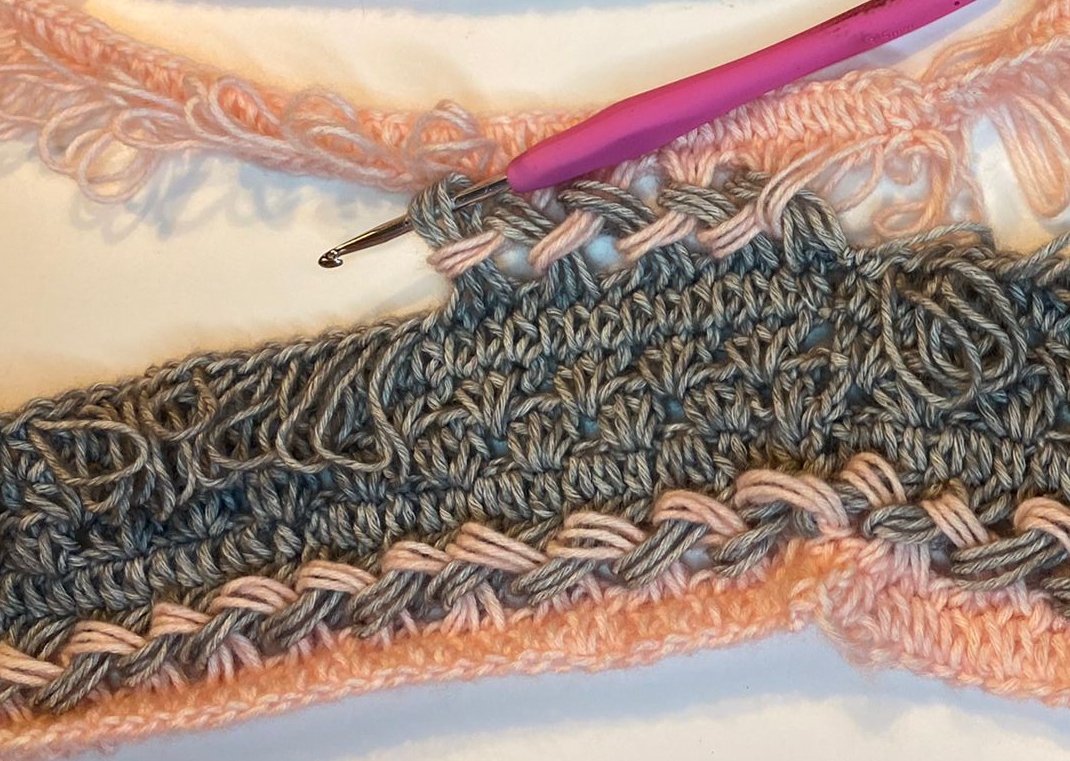
Pool loops of about 3cm in length in all st (219 loops). There are a few ways to do it (you can look up online ‘hairpin stitch’), but I prefer the one on the photo below. If you hold the loops with your finger on the hook as I do in the photo at all times, you can assume that they will be approx. same size… Practicing with one of the parts for a bit is my advice. After about 10 loops on the hook, take the hook out, and put it back in the last three loops you pulled through (closest to the new loop to be pulled). Make sure you do this carefully so you don’t disturb the loops too much, as that might impact their size. This will give you guidance on how long the next loops should be, and will make sure you keep the loops same size. Repeat every 10 or so loops. At the end leave a longer (15cm) ~6inches end tail of the yarn, as you might need it later.
(I am busy editing a video for YouTube to teach about how to do the hairpin stitch/pattern in general, but for this specific pattern there will be video link added to the paid version of this pattern, sometime in the next few days). You can always look up the Hairpin stitch/pattern online to learn more.
Braiding parts 1&2
Short reel has been posted on my IG profile for the braiding step only. Click HERE to watch it!
After making part 1 and 2, arrange them so that they are with their front side towards you, turn the part 2 upside down, align the starts of both parts and connect them as the hairpin stitch/pattern requests. This means by collecting 3 loops of one part and pulling them through another set of three loops from the opposite part. Continue until end of the row.
At the end of the row, you will have final three loops on you hook. Insert the hook in the third hdc stitch from start of row 2, in the opposite part (this is the base of the first three loops in the opposite part). If you followed instructions well, yo should have a long end tail from this part (opposite color than on the hook), do a yarn over (YO) the hook, pull through the hdc stitch and around the three big loops that are first on the hook and secure with sl st. This way it will not differ too much from the braid.

A video has been made to go with these steps and will be uploaded asap. The link will be added to the pattern PDF and possibly a short version here on the blog. At the same time plenty videos are available online to showcase this particular stitch, called Hairpin.
PART 3
Since part 1 and 2 are set opposite to each other (part 2 is upside down), part 3 continues in the chains of the part 2.
Row 1
Connect new yarn at the start of the round (where the rows of part 2 connected by sl st), ch3, 2dc in same st as ch3, sk 2 st (you can count this by hdc’s from part 2), sl st. (73 clusters of 3dc’s=219st’s)
Row 2
Ch3, sk cluster of 3dc’s, 3dc’s in sp between the clusters, 2dc in last sp which with initial ch3 makes last 3dc cluster, sl st. (73 clusters of 3dc’s=219st’s)
Row 3
Ch2, hdc in all st from previous row, sl st (219st)
Row 4
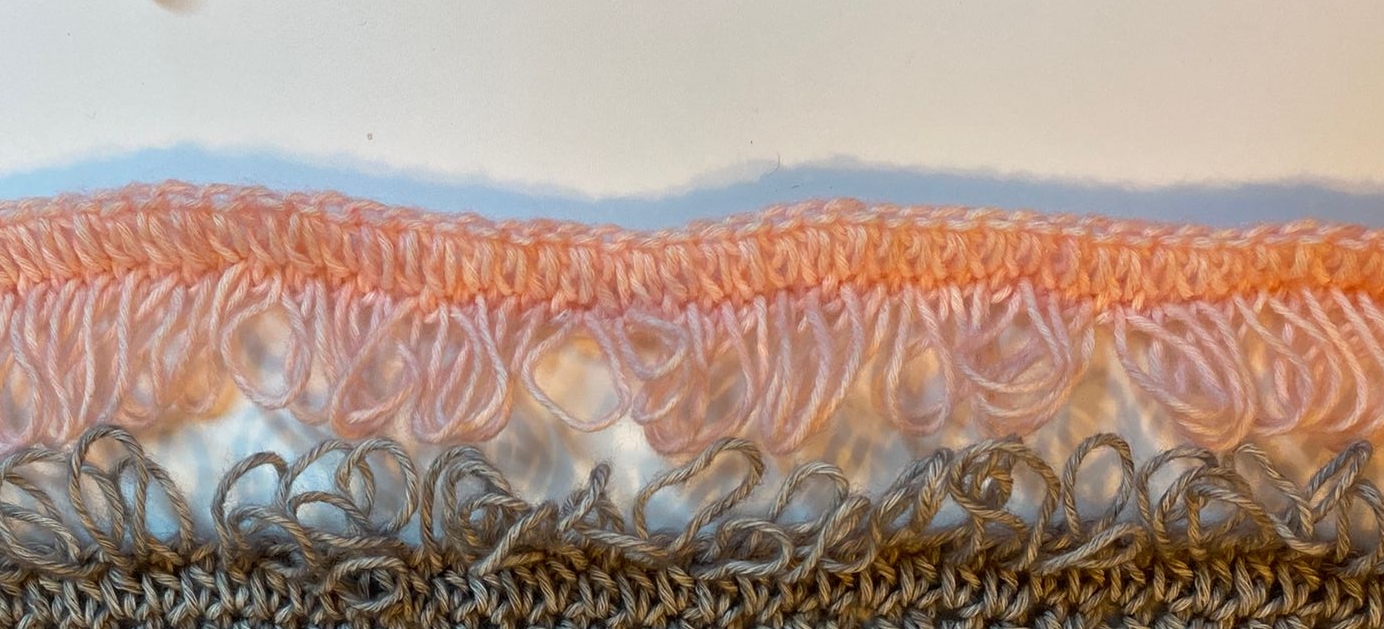
Pool loops of about 3cm in length in all st (219 loops)
Braiding parts 3&4
After making part 3, arrange part 3 and 4 so that the front side is towards you, take part 4 and turn it upside down and align with part 3 so that starts of the rows are across from each other. Connect them as the hairpin stitch/pattern requests and a is described above when part 1 and 2 were being braided. By collecting 3 loops and pulling them through another set of three loops. As explained above.
Borders
Do hdc in round at both sides of the shawl (top and bottom), sl st (219st)
I would love to see the photos of your makes, so please do tag me on these.
Subscribe to my mailing list here and receive updates on freebies, discounts and new releases… Liking my pattern, pinning it, liking my store or any of my media will of course be very much appreciated and will help me in my small business very much!
Admin - 14:25:44 | Add a comment