Blog
In my blogs I will focus on how to use crochet to create stuff that will make life easier or prettier... Read up as you might find some of them useful as well. Some designs will be for free and some designs will have a price... It all depends on the effort it went into making/researching/designing it.
Please check the list of the blog entries as the titles of each entry will more or less hint what it is about...
Sign up for a NEWSLETTER as among regular updates, there will be seasonal creations that you will want to check out so you can have the best ideas made into best stuff by you! Subscription available on Home.
2023-05-06
Flower Granny Blanket -FREE CROCHET PATTERN
Flower Granny Blanket -Free Granny Crochet Pattern

It has been a baby season in my circle of friends and I wanted to try out something I haven’t done before. I got inspired by the crochet granny square patterns that have been gaining popularity again, so I decided that I will be making some ‘granny like’ blankets but with a twist.
For this particular crochet blanket pattern I went with the graphic that I wanted to have a theme of spring colors and flowers. Below you will find all you need to know wrt yarn, gauge, stitches used, pattern instructions, border, etc.
INSTRUCTIONS
-Written in US terms. Difficulty level depends on whether you ever did granny or not and how long you crochet. I would say this is Intermediate, but I know beginners who only ever did granny squares and would nail this pattern with no issue.
-This crochet pattern is done in the rounds, using clusters of 3 half double crochet stitches (or double crochet stitches-depending on your preference and desired size of the blanket). These clusters are then repeated over and over until the main body of the blanket is done. You can see how I do this pattern in the three videos on my IG profile (video per round), click on the round that interests you: Round 1, Round 2, Round 3.
-If you are a tight stitcher and the item you are making can’t be stretched easily into a square then try to do it with the Old fashioned granny square stitch. Old fashioned granny squares use dc and ch1 between each cluster with the ch3 between the two clusters in corners.
-At beginning of each round I used a stacked dc to start (sc on top of sc). In case you don’t like that you can always start a round with ch3 stitches and they do count as a st unless otherwise stated. This starting stitch with the following 2hdc in the same sp will make the first cl. Look at how I do stacked dc HERE (it is the 3rd stitch explained).
-The pattern here will have the graph for the Main Body and Border explained. The PDF Ad-FREE version on Ravelry and Etsy will have written instructions as well (still to be added).
-When changing colors, before the last ‘yarn over and pull through’ of a cluster (3rd st in the cluster) change the yarn color. This will start the new st with the new color.
-Always leave a generous length of yarn before and after color change as it will make weaving the ends in much easier. I usually leave >5 inches (>13cm). But it depends what method you use for weaving ends in.
-There will be plenty ends to weave in, less than usually granny square blanket in multi colors, but still plenty. I had multiple mini yarn skeins for each of the sides of the main body square, so I could leave the color without cutting it off until I come to the same spot in the new round and just pick that color up to work with it again. But at some point it was becoming visible and difficult to yarn over at which moment I did leave long ends while color changes (just to minimize the weaving-which I am not a big fan off). But it cut the amount of ends to weave in by 30% or so while it still looked nice on both sides. Granny square stitch is supposed to be reversible (reason I find it perfect for blankets).
-This pattern is perfect for when you are watching TV or listening to a book. Just mind the color changes!
MATERIALS
Yarn: Budget Acrylic DK, 50g/150m, DK weight, for 4mm hook.
Yellow color:30g, 90m, 99 yards
Pink color:75g, 225m, 246 yards
Purple color:55g, 165m, 180 yards
Green color:100g, 300m, 328 yards
Beige color:235g, 705m, 771 yards
Gauge 1: Granny Square Stitch in hdc, according to the pattern below, 5 rounds =4.5×4.5inches (12×12cm)
Gauge 2: Granny Square Stitch in dc instead of hdc, according to the pattern below, 5 rounds =5×5inches (13×13cm)
Size: if hdc used the blanket will be 39×39 inches (approx. 101×101cm), if dc is used blanket will be 43×43 inches (approx. 112×112cm), if old fashioned granny square stitch used (as explained in Instructions) blanket will be even bigger.
Scissors
Sewing needle for thicker yarn
ABBREVIATIONS
BLO-back loop only
ch(s)-chain(s)
cl- cluster of 3 half double crochet in the sp between two clusters from previous row
hdc-half double crochet
MC-Magic circle
sc-single crochet
sk-skip
sl st-slip stitch, always done either in the 3rd ch if that is how you start new rounds or in the top of the stacked dc if that is how you start new rounds.
sp-space
sts-stitches
PLEASE READ INSTRUCTIONS BEFORE STARTING!
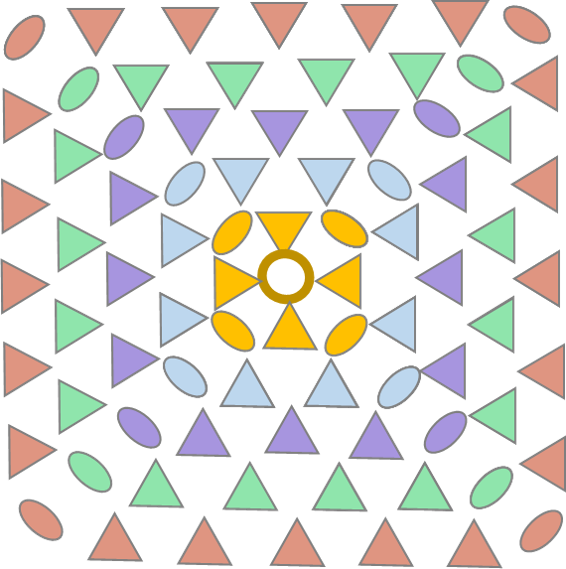
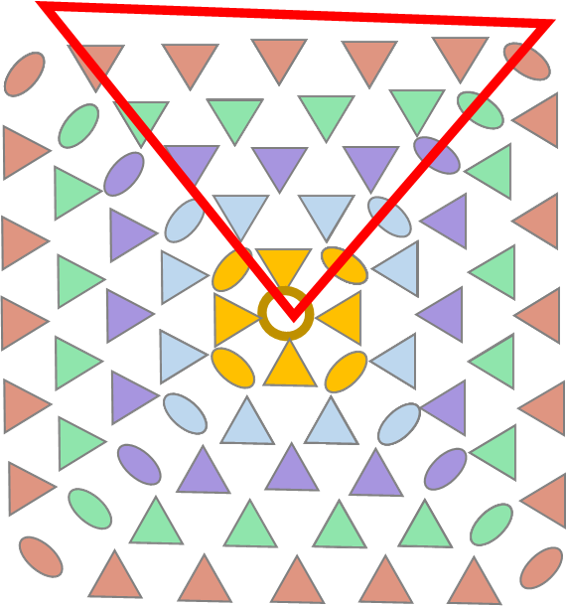
Main Body Diagram
Each triangle represents a cluster and each circle is a ch1. In the corners (which is seen as sp made by doing ch1 in previous round) you crochet cl,ch1,cl. In the Instructions part it mentions color changes.
Start with a MC or ch4, sl st.
Round 1
Ch3 or stacked dc, 2hdc, ch1, cl, ch1, cl, ch1, cl, ch1, sl st into the 3rd ch or the top of stacked dc.
(4 cl’s and 4 ch’s)
Round 2
(Ch3 or stacked dc, 2hdc) into the ch1 sp before the sl st from previous round, *(cl, ch1, cl) in next sp*, repeat sts between ** two more times, (cl, ch1, sl st) in the last sp where you started the round.
(8 cl’s and 4 ch’s)
Round 3
(Ch3 or stacked dc, 2hdc) into the ch1 sp before the sl st from previous round, cl in the next sp, *(cl, ch1, cl) in next sp, cl in the next sp*, repeat between ** two more times, (cl, ch1, sl st) in the last sp where you started the round.
(12 cl’s and 4 ch’s)
Round 4
(Ch3 or stacked dc, 2hdc) into the ch1 sp before the sl st from previous round, cl in each of the next two sp, *(cl, ch1, cl) in next sp, cl in each of the next two sp*, repeat between ** two more times, (cl, ch1, sl st) in the last sp where you started the round.
(16 cl’s and 4 ch’s)
Round 5
(Ch3 or stacked dc, 2hdc) into the ch1 sp before the sl st from previous round, cl in each of the next three sp, *(cl, ch1, cl) in next sp, cl in each of the next three sp*, repeat between ** two more times, (cl, ch1, sl st) in the last sp where you started the round.
(20 cl’s and 4 ch’s)
As you can tell the pattern only increases in cl’s between two corners, each new round will have one more cl between two corners (4 new cl added in total), so no need to describe that further, just keep adding cl’s in the sp’s between corners and corners are always (cl, ch1, cl).
Followed by 32 rounds. (in total 37 rounds).
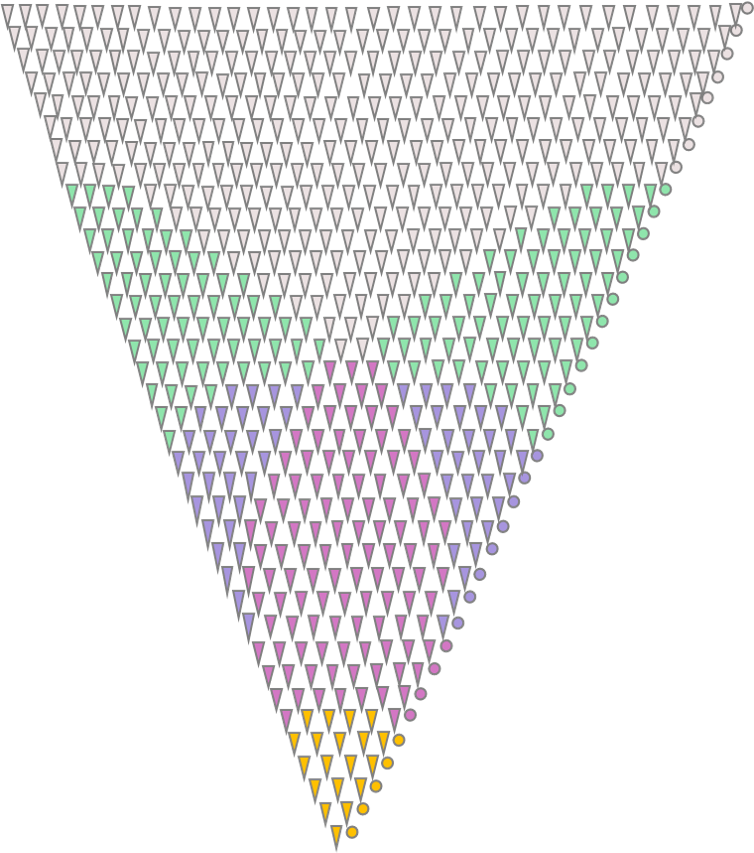
First photo is just an example diagram of granny square stitch and every round is a different color to explain rounds. Second is to explain the snippet (1/4 of the whole diagram) I chose to show here as getting a good diagram to be displayed was difficult. If I find a better way to show the whole diagram I will replace this one, but basically this 1/4 is just repeated 4 times in a round.
Border
Border is done by hdc(dc) in BLO in all sts from last round of main body and doing the corners the same as in main body -(cl,ch1,cl) in sp. 7 Rounds in total. I alternated the 4 main colors with the background beige color in between.
Weaving in ends
Usually my go to method is to use the needles for thick yarn and weave in between the back loops of strands of the same color, first one way for a couple of loops and then opposite way for a few more loops.
I would highly recommend to block the blanket as it makes the finished item look much neater but in my photos you will notice I didn’t as I literally finished it morning before gifting it. I will make one more in different colors as I really liked making it and I got plenty compliments on it, even a few requests from close friends.
If you would like to see more patterns like this please SUBSCRIBE to my Newsletter.
In case you need help with pattern do not hesitate to contact me! As well if you do make the blanket, do tag me so I can enjoy your work and share it if you are comfortable with it.
COPYRIGHT: This pattern is for the personal use only.
You MAY NOT in any form reproduce or distribute this pattern in part or in whole through any venue, electronic, mechanical or otherwise without the written authorization of the publisher. Also, any use of my photos is not permitted.
Admin - 23:37:02 | Add a comment
Add comment
Fill out the form below to add your own comments