Blog
In my blogs I will focus on how to use crochet to create stuff that will make life easier or prettier... Read up as you might find some of them useful as well. Some designs will be for free and some designs will have a price... It all depends on the effort it went into making/researching/designing it.
Please check the list of the blog entries as the titles of each entry will more or less hint what it is about...
Sign up for a NEWSLETTER as among regular updates, there will be seasonal creations that you will want to check out so you can have the best ideas made into best stuff by you! Subscription available on Home.
2021-10-21
3 phases of designing a pattern
3 PHASES IN DESIGNING A PATTERN
For years I have been free hand crocheting half of the time, basically making stuff without a pattern with only idea in my mind, while the other half of the time I have made stuff according to a pattern which I always ended up adjusting. Not because I thought there was something wrong with someone’s pattern but more because I always had imagination that couldn’t be stopped… And this is where my understanding of what goes in designing a pattern starts.
Please PIN this article so other can see it and make use of the information here…
Over time I have matured from a beginner crocheter to a more seasoned maker and realized that I wanted to properly design… that I wanted to think the pattern through, make the item, write down the pattern instructions, make the chart and then publish… seems so simple and easy, right?
Well, if it was only that, then I would say yes, it could be that easy… But the point of being a designer is that someone else can also use your pattern, make the same item but with their own twist added of a different yarn, color, even size… And that makes it more worthwhile and exciting!
But I have learned during my first time designing that not all is simple as it seems to be…
What is recommended to do before starting to design:
-being aware of the trends/seasonal needs in knitting/crochet world
-having a presence on multiple social media
-knowing the official terms/symbols patterns are made with
-knowing how to use some tools that will make it easier to make a pattern (Canva, Crochet Charts, Stitch fiddle etc.)
-being part of the platforms where the pattern can be published
-knowing all the phases a designer/design goes through before/after the publishing….
And here is where I want to add my ‘two cents’. Before I go into it from a personal experience let me first mention where I got most of my info:
-a lot of articles on Pinterest that I have pinned on a board on my profile Made By Nensi Pinterest
-joined a few FB groups dedicated to designers and bloggers
-joined a few FB groups dedicated to themes/niches I was going to try designing in first
-followed IG pages where testers were asked for (I already was following my fav designers)
-went through the library of patterns I had on Pinterest and Raverly and reread the patterns I liked the most trying to figure out what was it that I liked the most-pattern itself or the way it was written
-went through the magazines I collected over years, before Pinterest was my inspirational guide
This is why I write this blog, so that you don’t have to do all of that! Probably some of that will still need to be consulted for your own vision, but at least now you have an idea where to start, if that was your first struggle…
I have made a template for a checklist in Canva that I used while designing so I could keep tracks on all the information. You can edit it for yourself or download and print it out, if you are more of the paper in hand person. I print out the pages and keep them in my special binder. The FREE PDF Checklist you can download from the page Printables which you can choose at the top of the page!
That would be pre-phase 1 state.
Now we come to actual designing… This is where the 3 phases and the checklists they include are important.
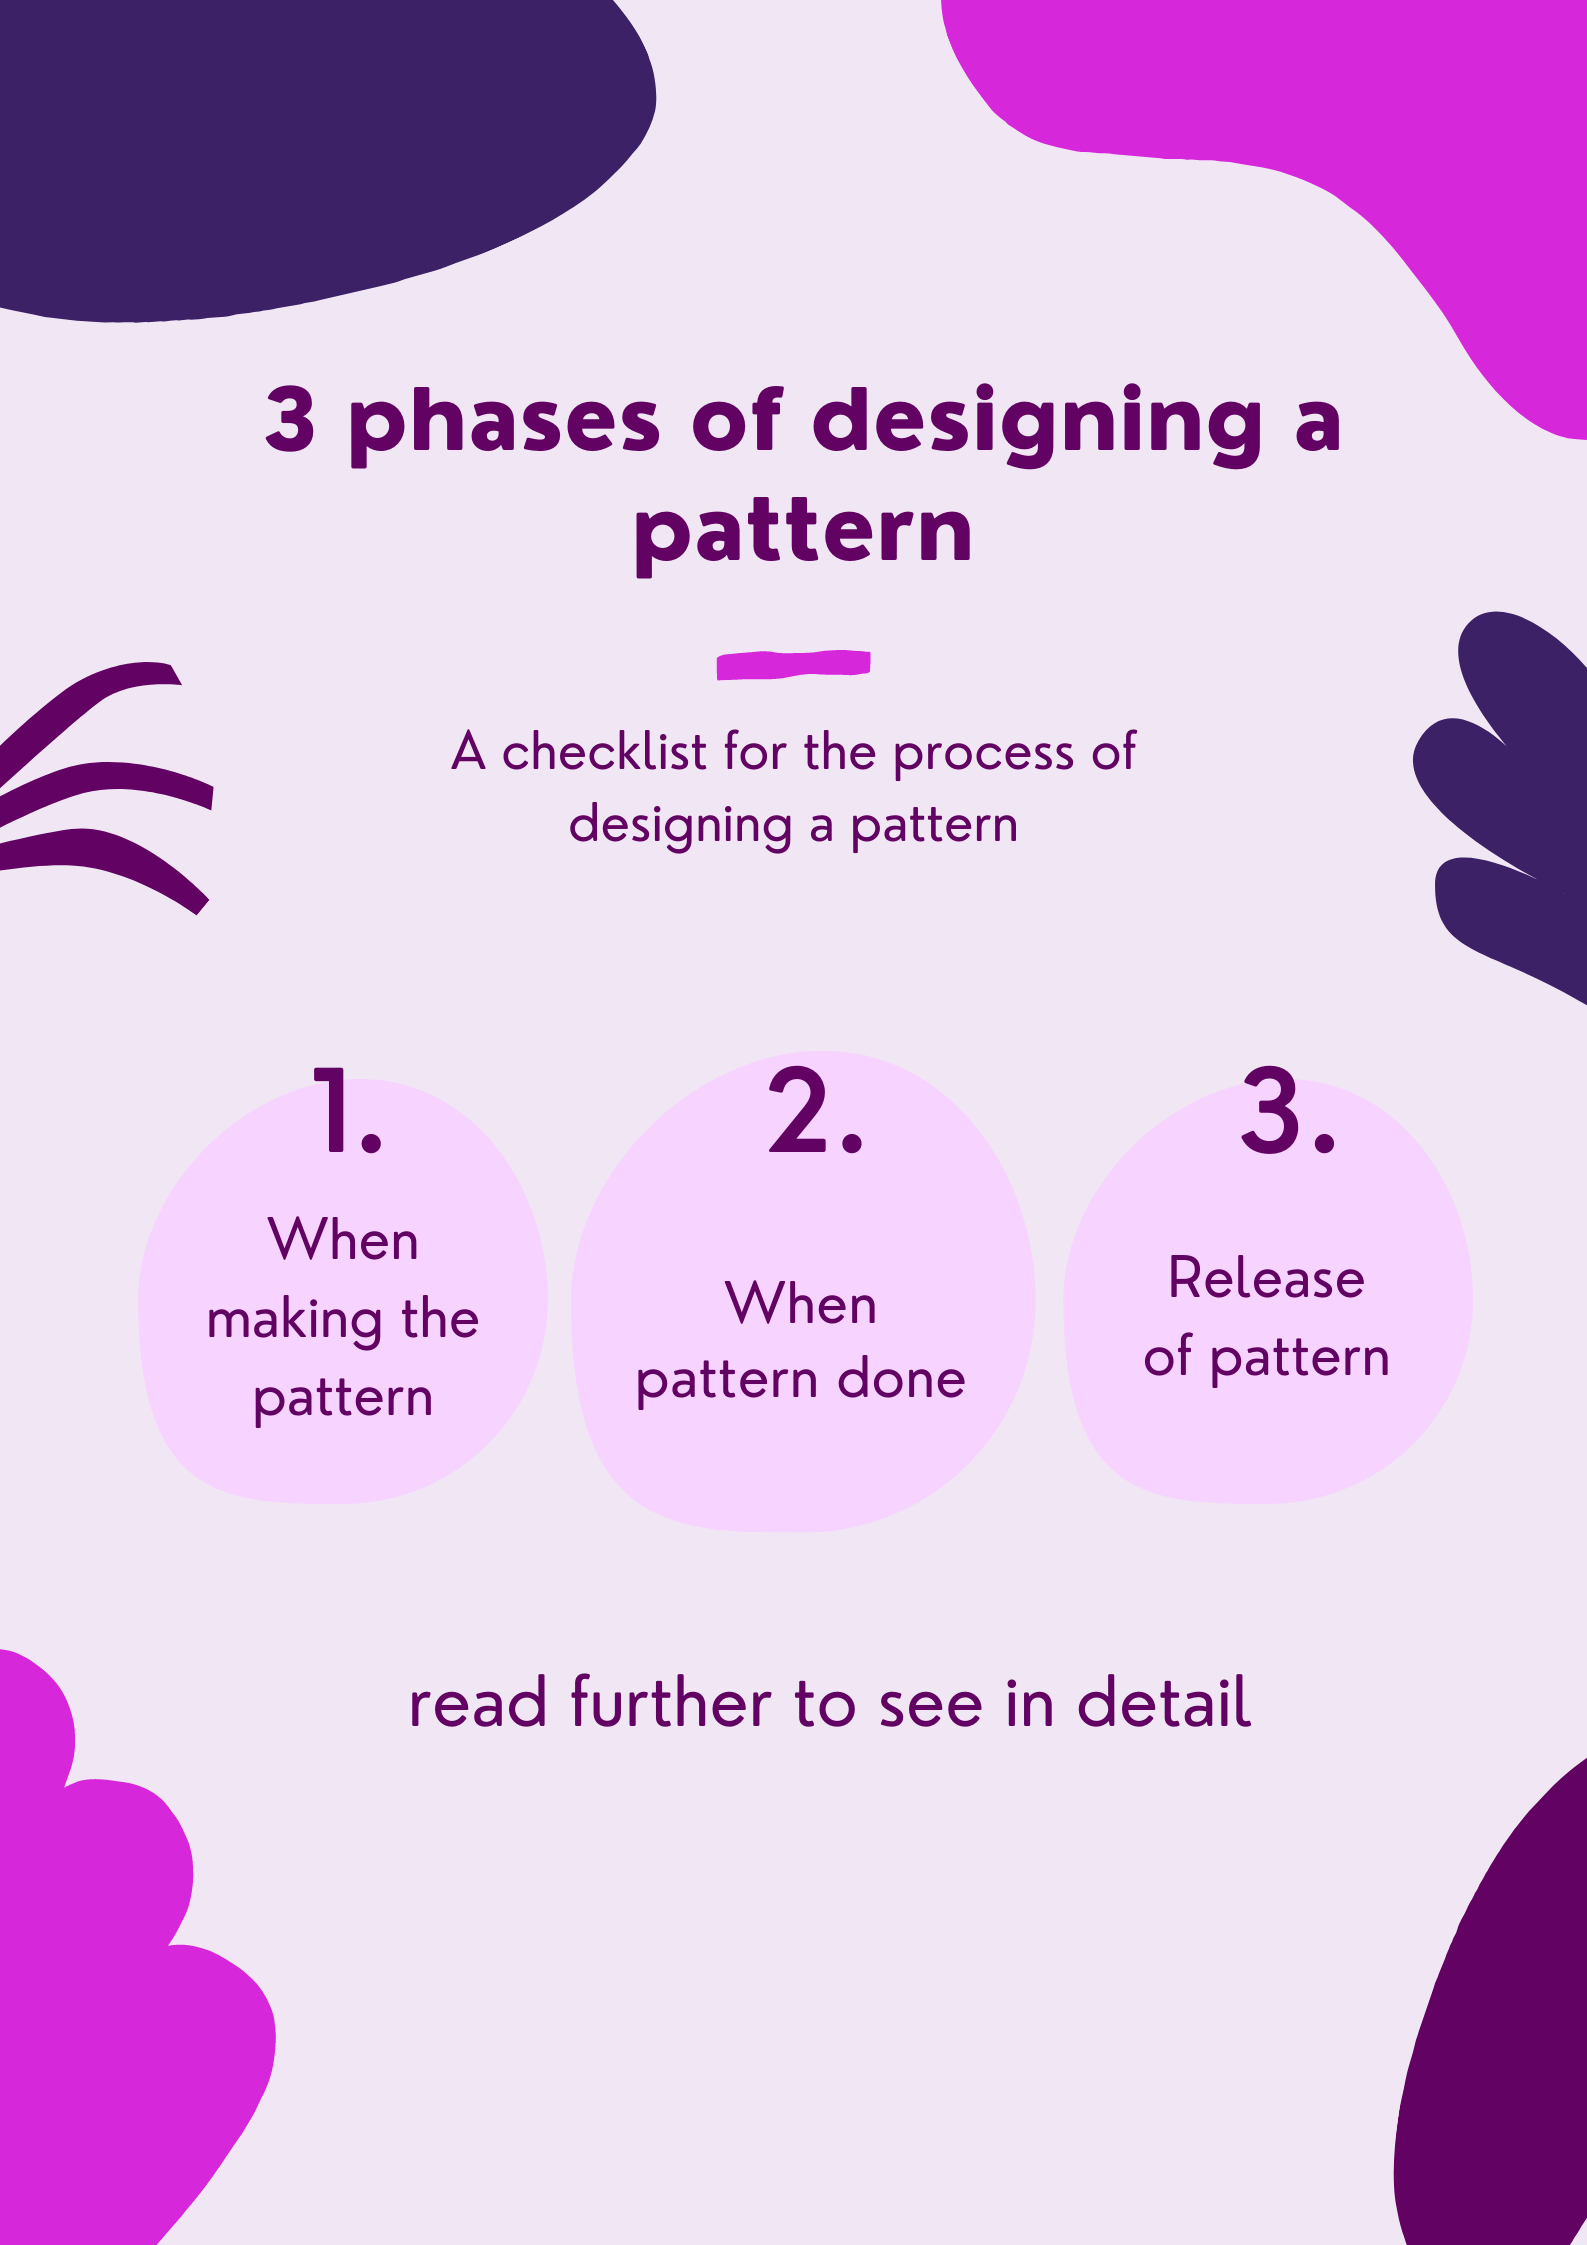
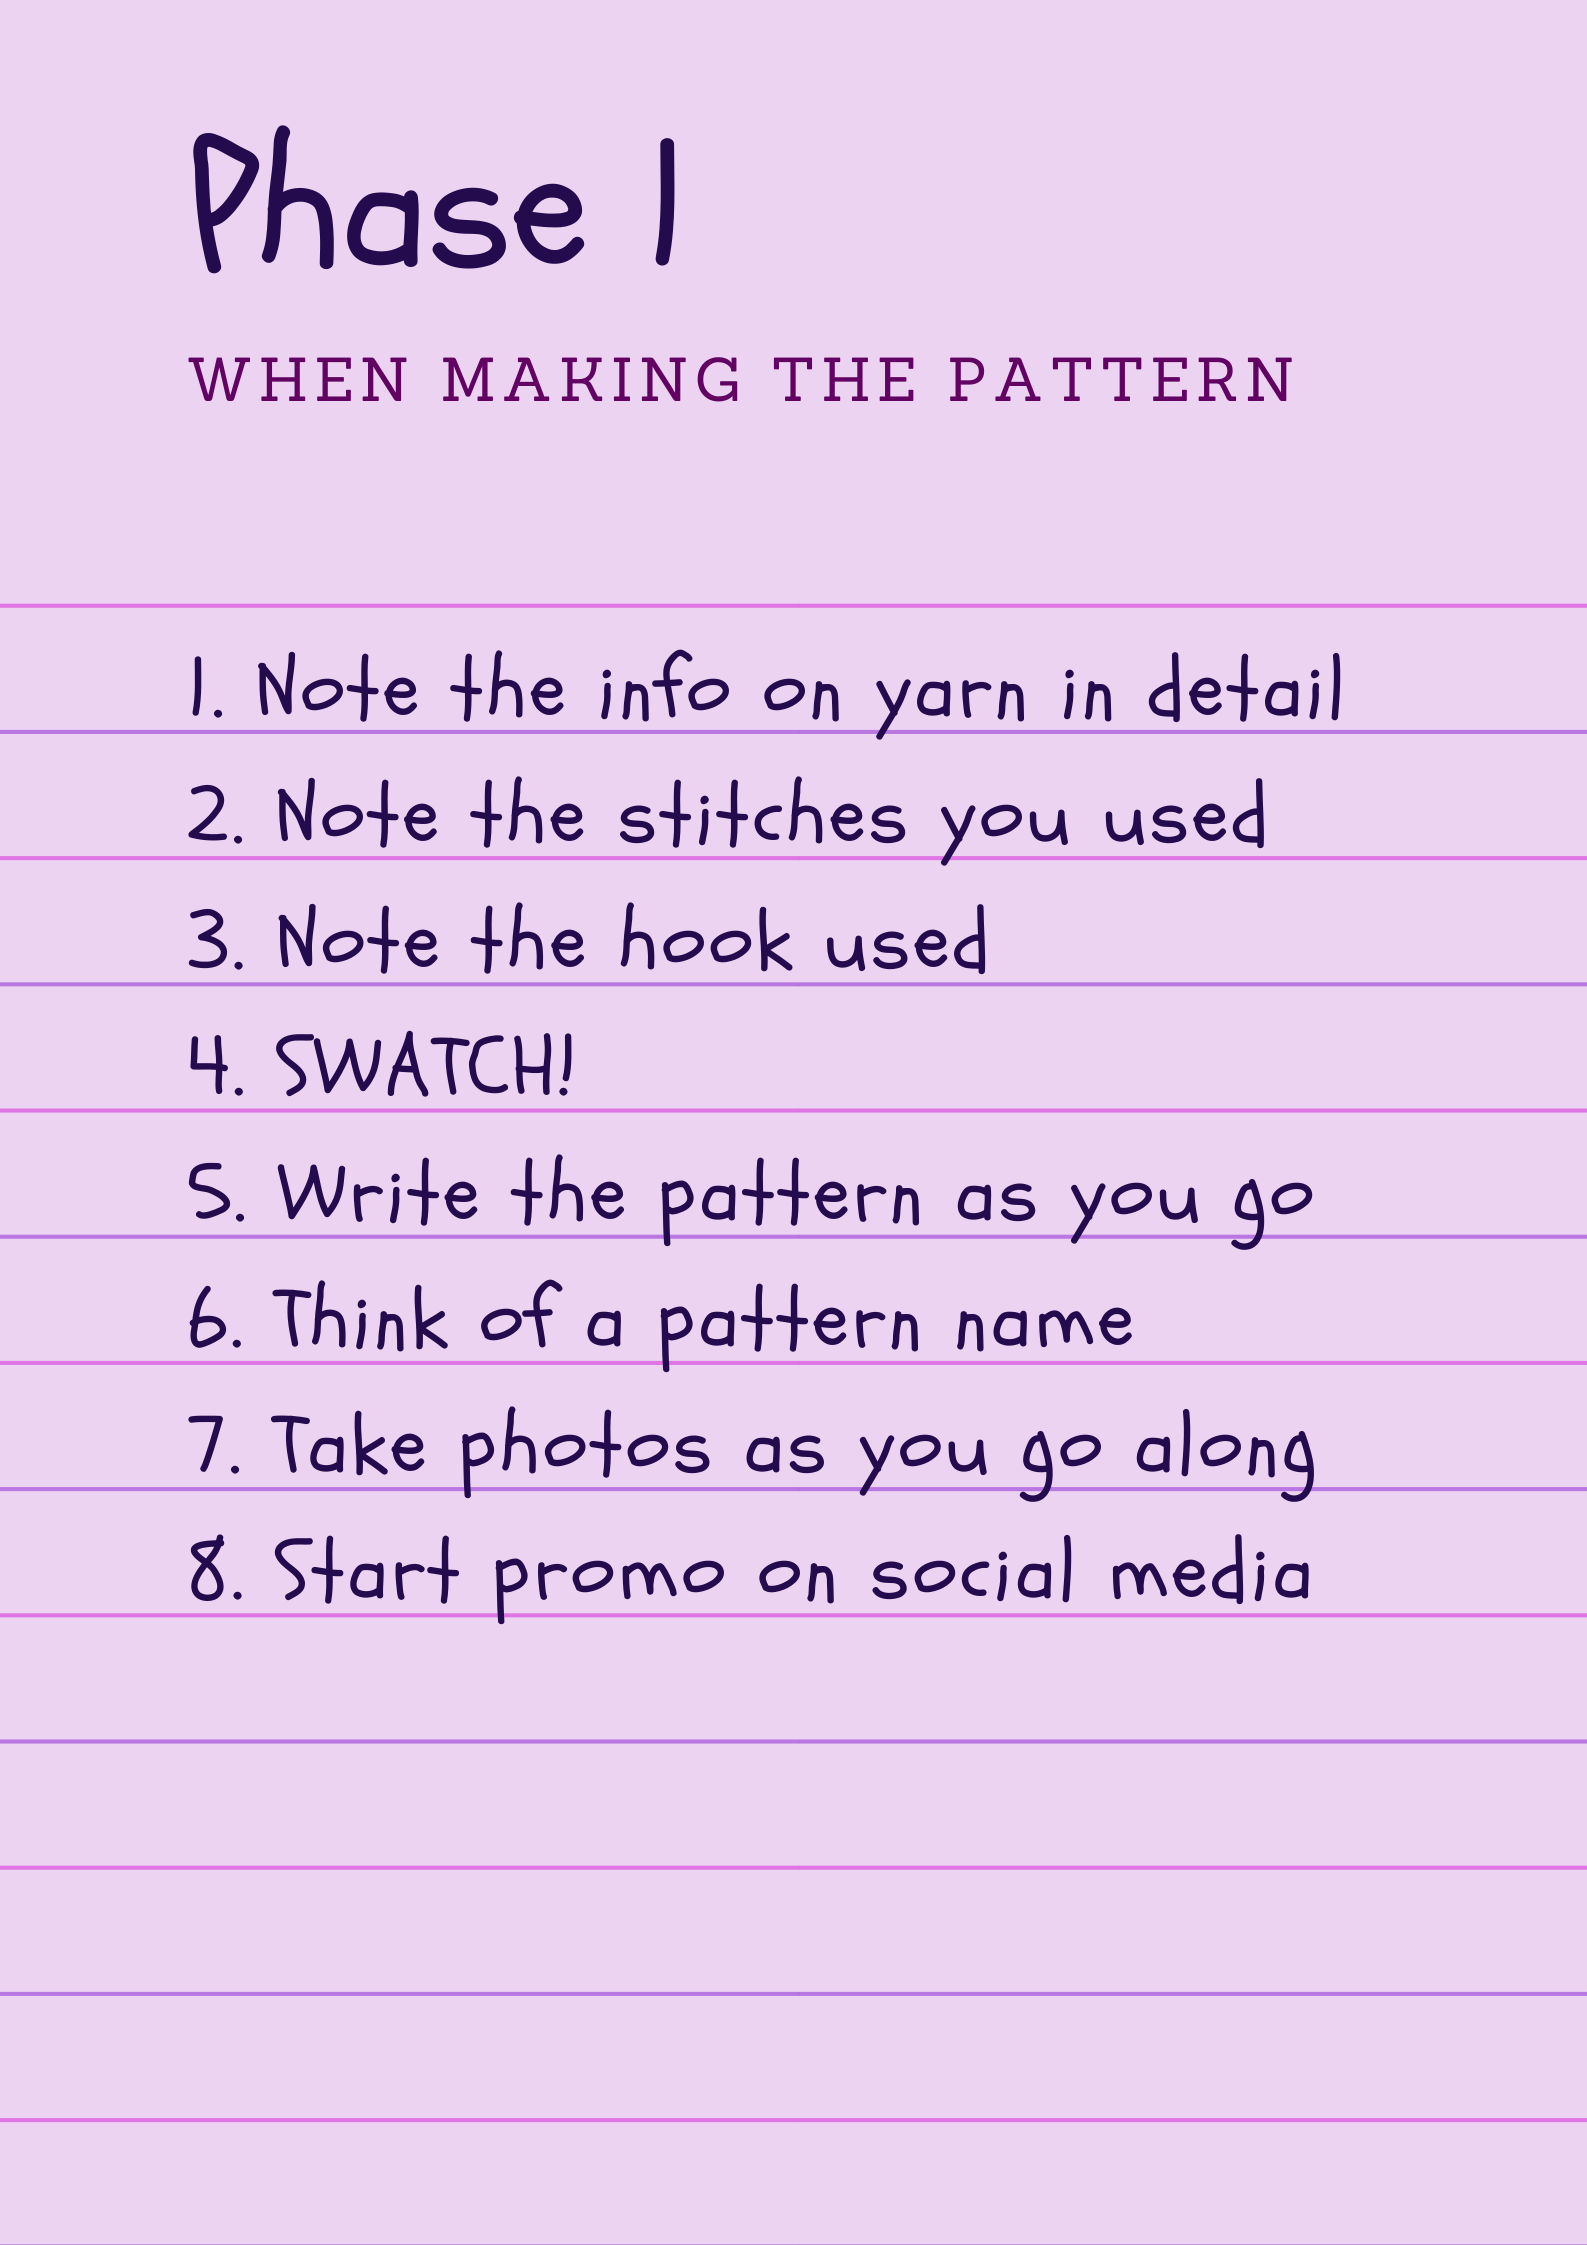
Phase 1-When making the pattern
1.) Note the info on yarn in detail – as much info you can get from the label, but I would suggest to look up on the manufacturer’s site if you can find more. Try to pick a yarn you know most of people are familiar with. This is important for two reasons: familiarity of the yarn (in honesty, some yarns are just universally favored), so people will be inclined to follow a pattern that uses same yarn as they have experience with and because you can later tag the yarn company and hashtag the actual yarn, as some people bust their stash by checking what’s new through a hashtag search.
2.) Note the stitches you used – do this as a separate legend to your pattern as this will be much easier for you later on, since the inventory on the stitches was already made.
3.) Note the hook used – I am guilty of starting projects and losing the hooks or frogging and then using another hook than recommended on the label. As silly as it sounds, just write it down, especially if you change it through the designing.
4.) SWATCH! – it will be so difficult to explain to your testers or your customers how tight or lose the stitches need to be. This is an individual trait that can be influenced/adjusted by either changing the hook or just tightening/loosening the stitches of the person following your pattern. As well gives very important info to people using a different yarn, so that there are minimal surprises on the size of the item at the end.
5.) Write the pattern as you go – even if you frog, even if you’re on the roll, even if you don’t feel like it, still do it. You will thank yourself later when you don’t have to count and stare in between the stitches to figure out what the heck have you done.
6.) Think of a name – it doesn’t have to be final, but thinking of it while you’re making it will most likely give you an idea vs doing it later when you’re busy with testers, promotion planning etc.
7.) Take photos as you go along – even if you frog, change directions, every time you do a few rows take a photo. Do it with a light background and a good light on your stitches. Probably by this time you have already invested in a good lighting… I checked out some DIY lighting solutions before I bought the mid range price lighting.
8.) Start promo on social media – do a small portion of your item WIP post on your social media in order to get the people interested in the design your working on.
Phase 2-When pattern done
1.) Do a photo session of the finished item – displaying not only the item as a 2d still item on a platform or such, but also try some dynamic photos trying to display the 3d properties as well. For example if it is a hat, do a photo of a hat but also of a hat on a person or if it is a kitchen towel, do a photo of a towel in the kitchen next to where it would be used or while in use…
2.) Initial instructions – combine the legend/abbreviation already written, with all info you noted on yarn, hook, swatch and combine this with the written pattern to make initial instructions that you will send to testers
3.) Find testers – my suggestion would be to ask on your own page first to see if one of your followers would like to be your tester. Then I would ask in one of the FB groups and in one of the IG tester profiles. In such way you have covered quite a variety of reach you would like to have. More on what steps to take and what to think of wrt finding a good tester group please read my blog entry on that topic.
link to blog post…
4.) Write a pattern chart – while you wait for testers feedback, in case you want to make your pattern offer more attractive or attractive to more people think about making a chart with symbols. I prefer Crochet Chart software which is free, from Stitch Works Software, not the app. But there are a few other options and comparisons between them have been covered by other bloggers.
5.) Make video instructions – even if you don’t want to make a video on the whole pattern, make the one on the complicated stitches or on tips how to do complicated part of the design, in case this info can’t be conveyed to the person who is working with your pattern just by simple means of looking at the photo.
6.) Start the promo – your testers will post WIP photos in their social media per your agreement, in the link under the bullet point 3, you will find more info what to make sure is done by your testers.
.png&filetype=image)
Phase 3-Release of the pattern
1.) PDF of the pattern – after the feedback of the testers and adjustment you made to your pattern to make it more clear and easier to read, put it all in a PDF format as this is the format supported by platforms where you will release your pattern.
2.) Make good posters – I use Canva to make posters that I can use on multiple platforms, as there it will be automatically adjusted depending where you want to post. Make multiple as you will use them over the coming days…
3.) Promote v.1! – promote in the days leading to the release date, together with your testers and with your supporters (friends in the crochet/knitting community).
4.) Make the listings – on platforms where you want to publish it, make the draft listings. I do this as I don’t want to be rushed and I want to make sure I added everything I wanted. Whether it is Raverly or Etsy, in the description I put the most important info like what is the use of the item for which the pattern has been made, what will it do to your style/décor/purpose to make it for. For example ‘great addition to any style’, ‘will make your room stand out’, ‘will be the best present possible’ etc… DON’T forget to add links to all your pages/profiles/website, anywhere where they can find you outside of the platform to which you publish. Make sure the customer understands that your pattern is not to be copied, shared, posted. And make sure they understand that they can sell the product they made by following your pattern. Your contact info is a must they need to know how to contact you in case they have questions or issues with the pattern.
5.) Promo v.2! – in order for your pattern to get traction and score high in the search the most sensible thing is to offer a limited amount free for the first 24h and a limited amount for 50% off after the free pattern limit is reached. I add this info into all the promo posts as well as I ask the testers to do the same… It gets people talking about it, working on it, liking it, sharing it, pinning it etc… all the good stuff. Make a reel for FB or IG (if you’re into it). Make a story for IG or FB. Use FB groups to promote the new pattern while mentioning free copies and discounts as well as make links to your platforms where you publish the pattern. Pin to Pinterest every few days using the different designs you made with Canva…
.png&filetype=image)
For bloggers all of the above is applicable plus more! Write a blog entry about the design and in newsletter to your subscribers mention you’re working on it, tell them when you’re finished and offer them either additional 20% discount or prerelease free copies. If you’re up to 100 subscribers I would just send them all a code to a free copy and a limited time to use it like 48h. On FB groups I would post a promo photo and let people know that if they subscribe they will get a free copy for sure, while mentioning the process for non-subscribers too.
If this checklist/guide through the 3 phases was helpful let me know!
Please PIN this article so other can see it and make use of the information here…
If you want to know more or would like to be the receiver of the good offers I have from time to time, do subscribe to my email list!
Admin - 23:19:40 | Add a comment
Add comment
Fill out the form below to add your own comments